Since Home Assistant 2023.6 you can add network storage locations to your Home Assistant installation. As I don’t own a NAS but since ever a StorageBox at Hetzner I added this to my Home Assistant.
Preparation at Hetzner
You can either use your Hetzner main account to add the network storage, or you use a dedicated account which Hetzner calls sub account.
To create a sub account login to Hetzner Robot go to your StorageBox, select the tab Sub-Account and click on the create Button. Select a base directory (you cannot create a dedicated directory for the sub account here, this needs to be done upfront) and select Samba and external reachability and click the Safe button.
The password for the sub account is shown only once, ensure to store the password in a safe place.
Connect to StorageBox with your main account
To connect Home Assistant with your StorageBox using the main account, go to Settings → System → Storage and click on Add Network Storage. In the configuration dialog enter the following:
- Name
Assign a speaking name for the network storage - Usage
You can select between Backup, Media or Share as purpose for the network storage - Server
Insert the URL to your StorageBox Account, e.g.https://u123234.your-storagebox.de - Protocol
Select Samba/Windows (CIFS) - Remote Share
Enterbackupto grant access to the root level of your StorageBox. In case you’ve created subfolders in your StorageBox (e.g.home-assistant/backupto store backups) you should addbackups/home-assistant/backuphere. - User Name
Add the main accounts user name, e.g.u123234 - Password
Insert the main accounts password
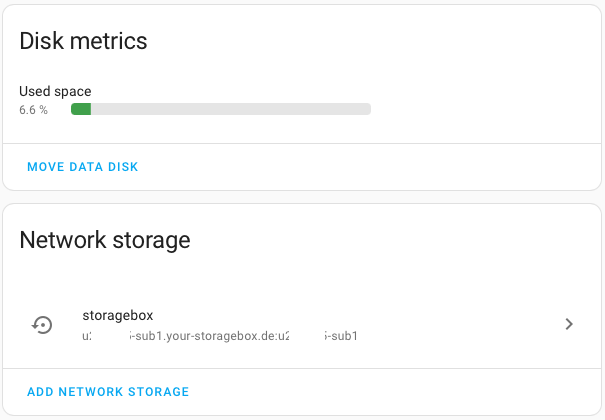
After clicking on the Connect button the network storage will be attached to Home Assistant and you can configure it to use for your daily backups, or whatever you wanted it for.
Connect to StorageBox with a sub account
To use a sub account to connect Home Assistant to your StorageBox follow the steps described above for the main account. The main difference is that you have to use a different URL and Remote Share for a sub account:
- Server
Insert the URL to your StorageBox Account, e.g.https://u123234-sub1.your-storagebox.de - Remote Share
Enter the sub account name as remote share name, e.g.u123234-sub1
Congrats, you’ve just added your StorageBox to Home Assistant as network storage!